- The Agentic Marketer
- Posts
- How I Automatically Submitted My Website to Google's Search Index
How I Automatically Submitted My Website to Google's Search Index
Get the free template to immediately index your articles on Google.
Most website content sits invisible in search results until Google discovers and indexes it. Some can take days or even weeks – but I’ve built an automation that can almost immediately index your new article on Google.
Instead of waiting for Google to find your content, with this automation, you can proactively tell Google exactly when you've published something new.
So, how does it all work?

The system automatically scans your sitemap daily, identifying new and updated content without any manual intervention.
Instead of waiting for Google's crawlers to eventually find your content, your URLs get submitted directly to Google within hours of publication.
The workflow only submits URLs that are actually new or updated, preventing wasted API quota and maintaining optimal performance.
Once configured, it runs automatically every day, ensuring your content gets priority indexing.
Here’s how to set it up
Download the n8n workflow here
https://drive.google.com/file/d/11UvvqMeqYN-LQEdKm9zY-2hl525H2WT0/view?usp=sharing
The process of setting this up isn’t typically very easy, but if you follow this step-by-step guide, you’ll be up and running (or, I guess, you could say up and ranking) in no time! So, let’s jump right in and take a look at how to set this up.
Step 1: Create a Project
1.1 Go to Google Cloud Console
Sign in to your Google account and head to the Google Cloud Console dashboard.
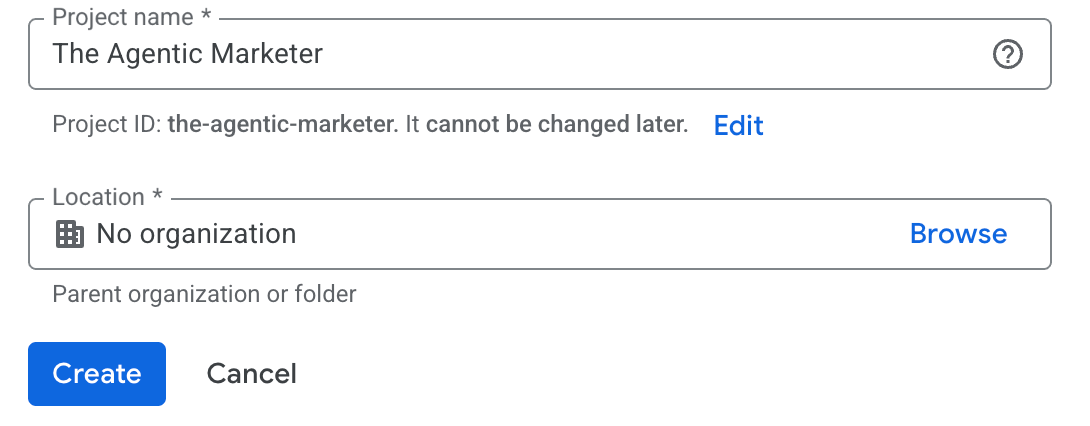
1.2 Create a New Project
Click "Select a project" in the top nav bar, then "New Project" in the pop-up.
Give it a name you'll remember and click Create.
Step 2: Enable Web Search Indexing API for the Project
After your project is created, you’ll be directed to an API library. Make sure your selected project (top nav) is the one you just created.
Click Next, then hit Enable on the "Web Search Indexing API" screen.

Once done, you're ready to create credentials.
Step 3: Setup the OAuth2 Credentials
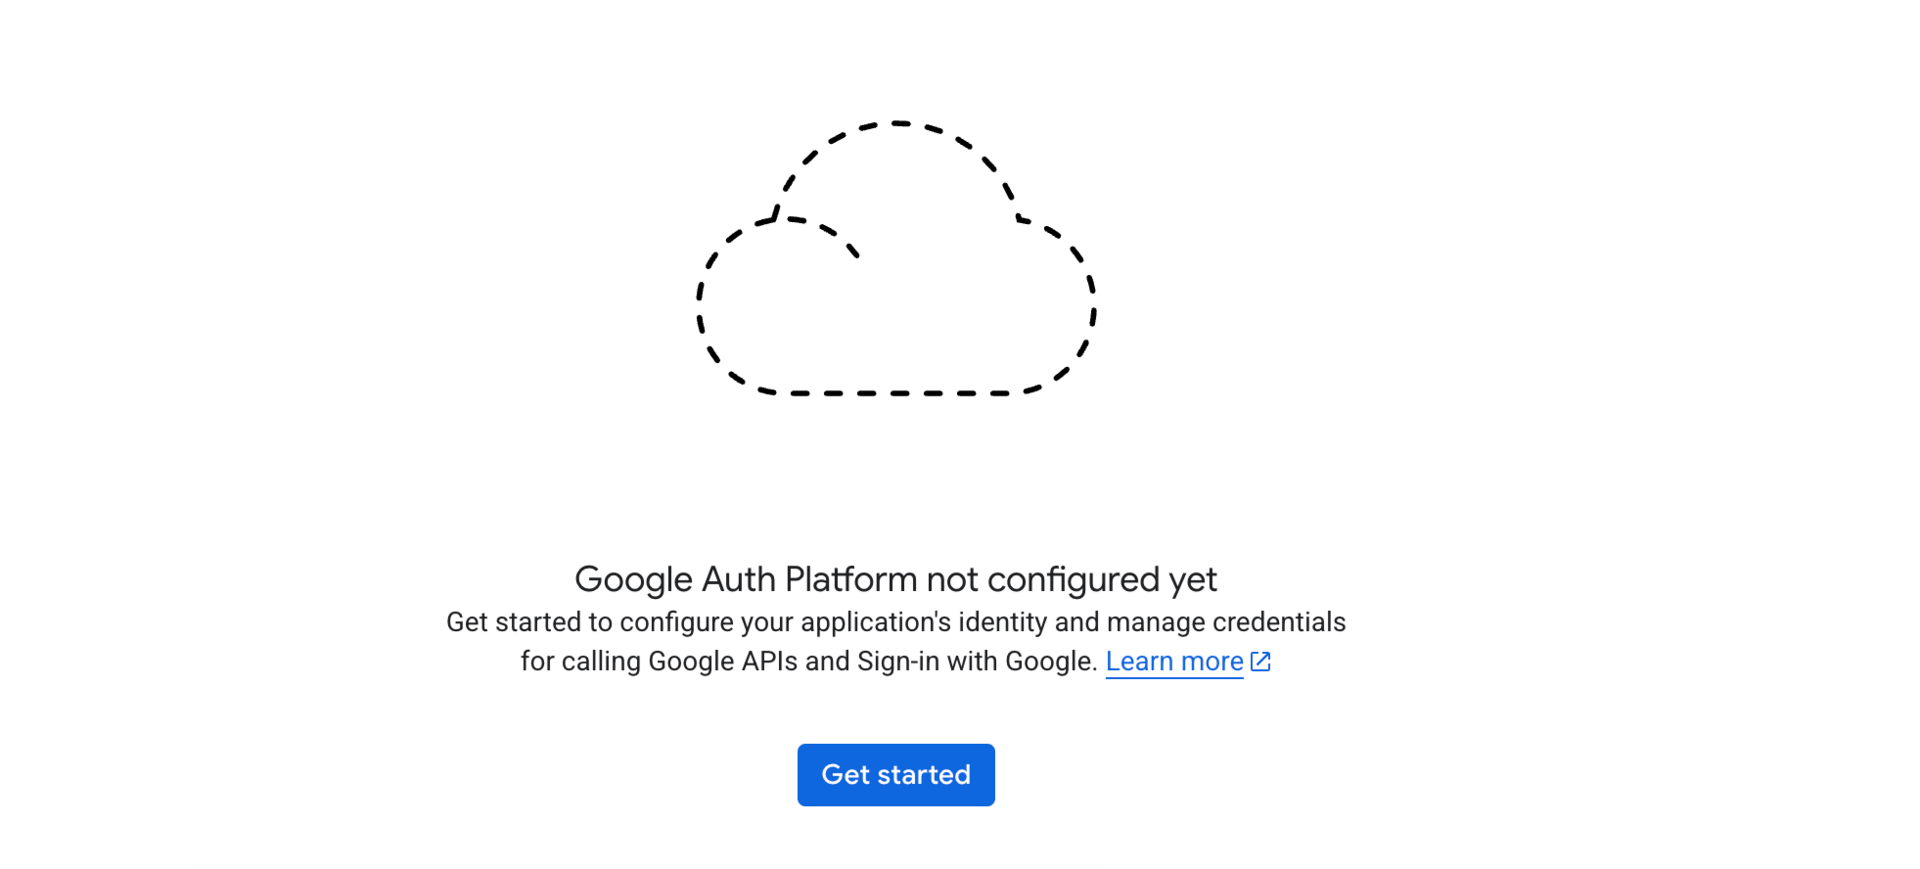
If this is your first time creating an OAuth account, you will need to configure your Google Auth Platform.
Click on API & Services > OAuth Consent Screen > Get Started.
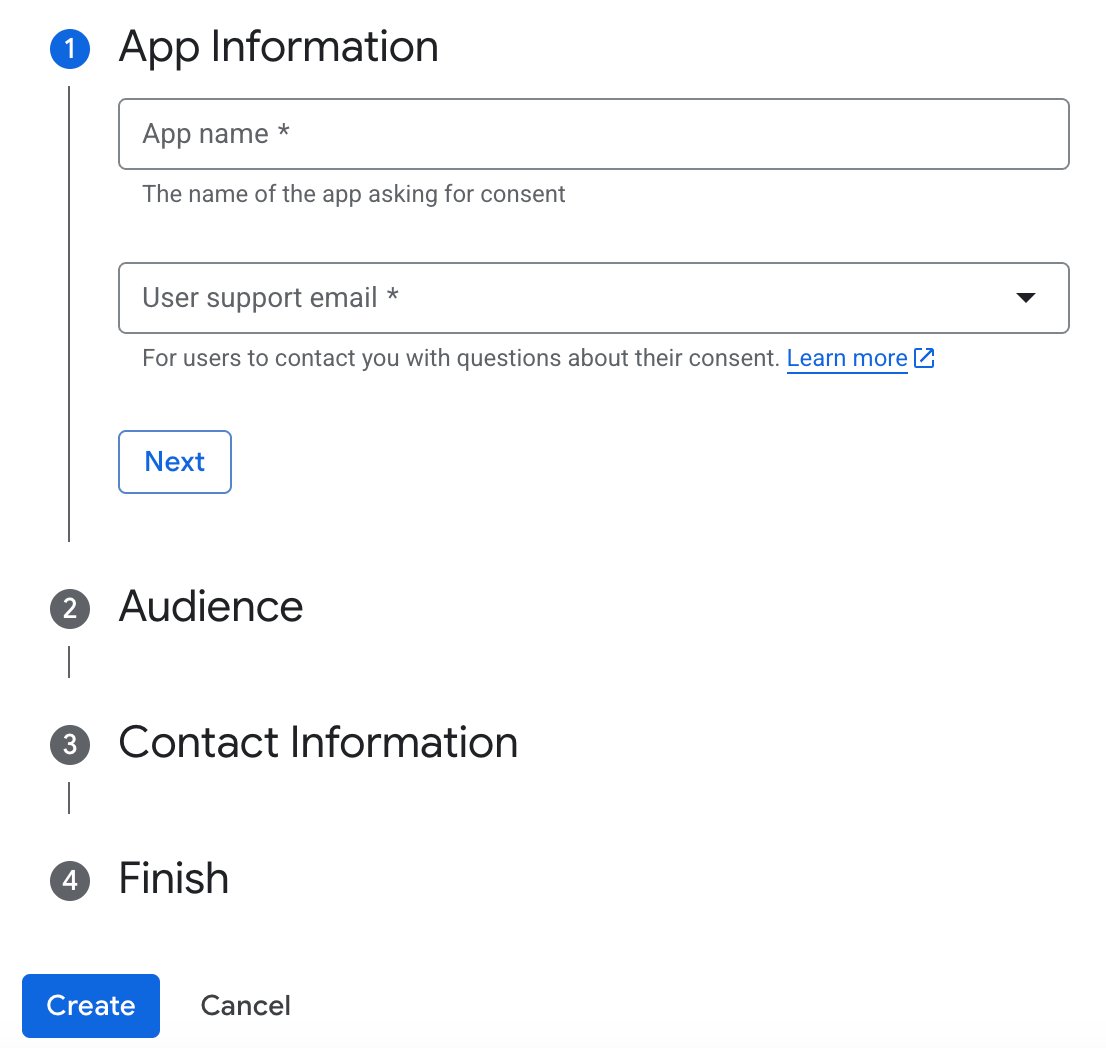
Go through the 4-step wizard to configure the OAuth Consent Screen and click Create.
Click the “Create Client”
Select “Web application” as the Application type, give your app a name, and click Create.
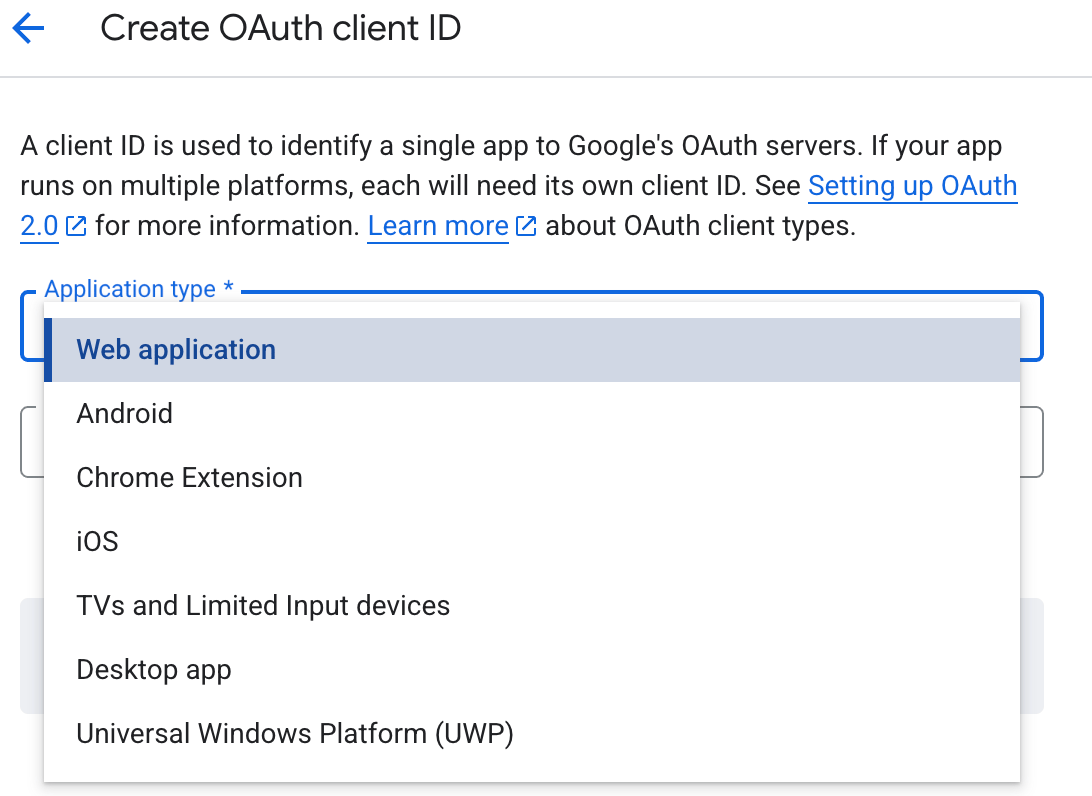
You will be provided with a Client ID and a Client Secret. Make a note of these as you’ll need them later.
Step 4: Add the OAuth Credentials to N8N
On your N8N workflow, click on the drop-down next to Create Workflow and select “Create Credential”.
Note: Make sure you are logged in through the same Google account that you used to create the project in Google Cloud Console.

Search for Google OAuth2 API and click Continue
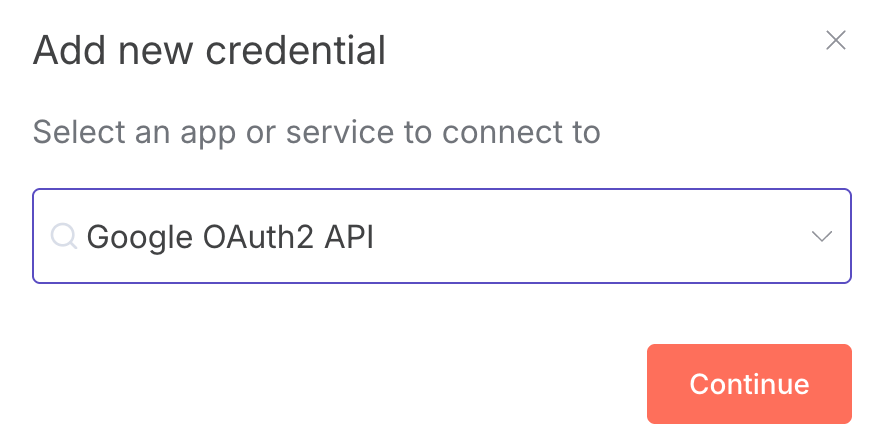
Copy the OAuth Redirect URL and go back to OAuth Client ID that you created in the previous step.
Under Authorized Redirect URL, paste the URL that you copied from N8N.
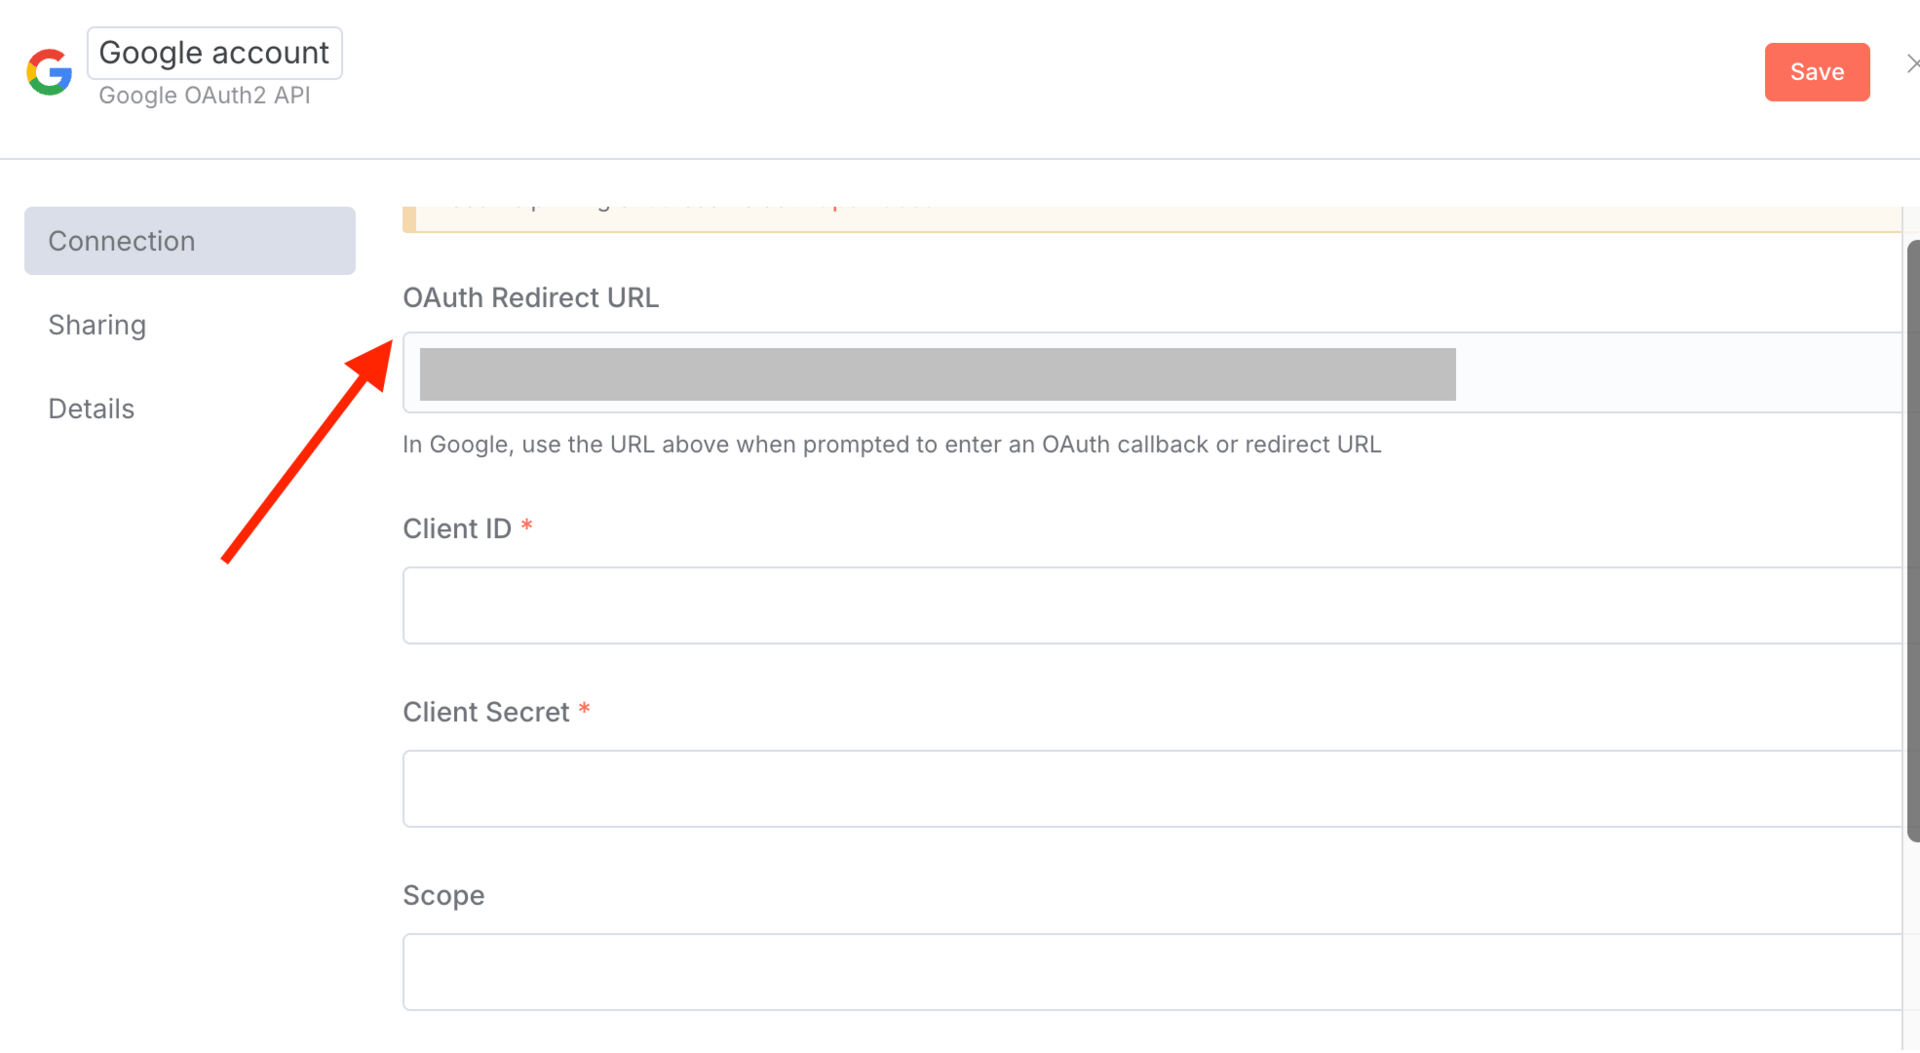
Copy/paste the Client ID and Client Secret that you generated from the previous step.
Under Scope, add “https://www.googleapis.com/auth/indexing” and click Sign In with Google and select the same Google account that was used to create the OAuth Client in the previous step.
Step 5: Configure the credentials within N8N workflow
The two nodes that would require the credentials you created in the previous step are Check Status and URL Updated nodes.
Make sure you set the authentication as follows with the new credentials that you created.
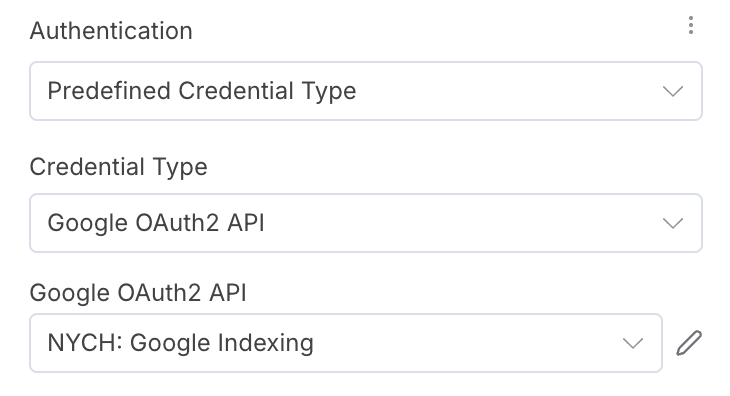
Voila! You’re good to go. You can feed in any URLs (respect the daily quotas/rate limit) and you should now be able to index your websites automatically.
By implementing this workflow, you’ll:
Index your content faster and stay ahead of competitors waiting on Google’s crawl schedule.
Take control of SEO performance by signaling exactly when Google should crawl new pages or updates.
Boost visibility and traffic for high-priority pages like time-sensitive content, landing pages, or programmatic SEO pages.
This small backend upgrade gives you a powerful edge in organic search - with less waiting, more control, and faster wins.
Got any questions or need help setting it up? Book a consultation call and let’s take it from there.